Hand drawn branding: creating the hand drawn logo look in Adobe Illustrator

Vol. 073
Hand drawn branding: creating a hand drawn logo look in Adobe Illustrator
Fulfill the craze of hand drawn branding without ever picking up a pen. This step by step tutorial teaches you how to create the look of a hand drawn logo using Adobe Illustrator effects.

A quick bite:
Hand drawn branding has been booming over the past few years. But, fear not, you don’t need to be a master illustrator to create brands that look like they’ve been created by hand — this Adobe Illustrator tutorial will walk you through how to create a hand drawn logo aesthetic, step by step.
Continue reading below…
Over the past few years, hand drawn branding has become a sought-after style for brands.
As the pendulum swings, it seems that hand drawn logos are the result of a resistance to the clean, minimal and digital branding styles inspired by brands like Nike and Apple.
If you’re thinking to yourself: I don’t know how to create hand drawn branding! You’ve come to the right place.
Creating the look of hand drawn logos is easy with this 11-step tutorial in Adobe Illustrator.
Below I will walk you through how to create a hand drawn branding look without ever having to draw logos by hand.
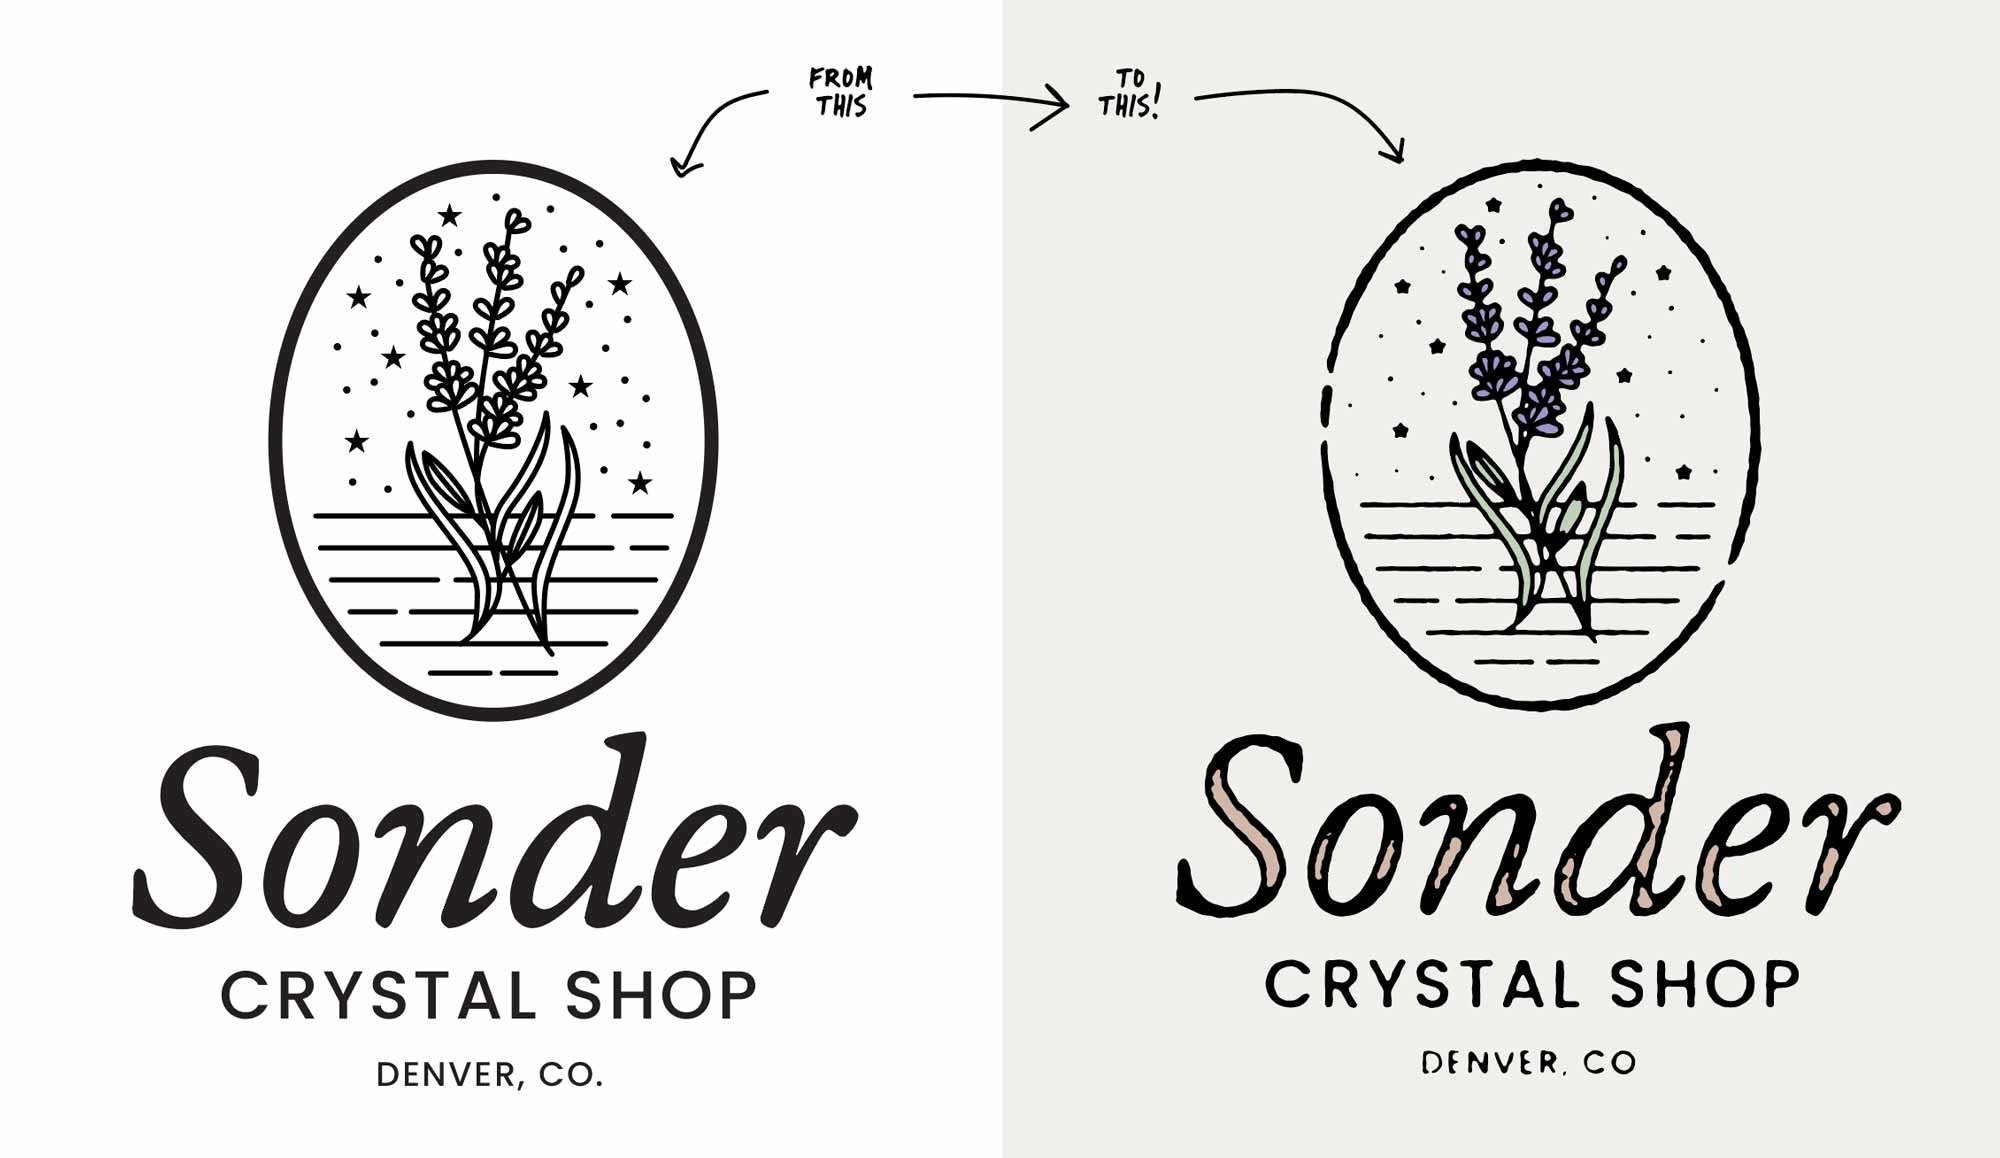
Left: Original Logo | Right: after applying hand drawn logo tutorial
Step 1: Create your logo
The starting point in this tutorial is a final, 1 color logo. Through a series of illustrator effects, we can make our branding look like it was hand drawn.
If you’re creating something for a client and you need a bit of guidance, here is our logo design process.
Step 2: Outline strokes, type and expand appearances
Select your logo and do the following:

Type > Create Outlines

Object > Path > Outline Stroke

Object > Expand (or, Expand Appearance if available, and then select both Fill and Stroke)
Now, your logo is all solid vector shapes.
Step 3: Pathfinder
Select your logo.
Open the Pathfinder Window, and click Divide.

Double click our logo to enter Isolation Mode.
With the Direct Select arrow (white arrow) select a black vector.
Go to Select > Same > Fill Color
All black portions of your logo should be selected, and you will Cut (CMD + X)
Use the Direct Select arrow (white arrow) to select remaining white and transparent fills. Delete.
Paste in Place (CMD + Shift + V) your black vectors, and click Unite on the Pathfinder window.

Step 4: Roughen
Select your logo.

Go to Effects > Distort and Transform > Roughen
Here, you’ll want to play around with your Size and Detail to get the results you want.
You may also find, as I did in this particular hand drawn logo conversion, that you may need to select different parts of your logo and Roughen them separately. Because the Effect is applied universally, it will affect large areas differently than small areas.
Step 5: Rasterize
Select your logo, and go to: Object > Rasterize
Select RGB, and 300 DPI

Step 6: Stamp
Select your Rasterized Logo
Go to: Effect > Sketch > Stamp
Adjust your Light/Dark Balance and Smoothness to get your desired look. The higher the Smoothness, the more detail you’ll lose.
Then, go to Object > Expand Appearance
Step 7: Live Trace
Select your logo, go to Image Trace

Adjust your settings to achieve the look you want. If you want a hand drawn branding look, you’ll want to find a balance between rough and imperfect and refined and clean. It takes a bit of messing around with these settings to ultimately achieve the exact look you want.
Be sure to select the Ignore White dialogue box so that your Live Trace is just black vectors.

Next, hit Expand in your Toolbar (or go to Object > Expand)
Step 8: Inner Glow
Select your logo and go to Effect > Stylize > Inner Glow
Adjust your settings to be Screen, White, 75%, Center.
For Blur, you’ll want to have a similar-ish visual balance of dark and light as shown in this example.

Step 9: Mezzotint
Select your logo and go to Effect > Pixelate > Mezzotint

Your logo should look like this.


Step 10: Live Trace and fix
One last Live Trace (Object > Image Trace)
Your logo should look like this.

Next, using the Blob Brush (Shift + B) you can paint in detail areas that were lost during this process.
*Tip: Use the Left and Right Brackets on your keyboard to adjust Blob Brush Size.
You can also use the Eraser tool (Shift + E) to erase areas of your logo to further push the hand drawn branding look. Seen here in the ovular container shape.

Your logo should look like this — it looks like a 1 color hand drawn logo!

Black/White Version

Color Version
Step 11: Add color and deliver!
Finally, add color to complete the look of your hand drawn branding!
Generally, using muted, less saturated colors to your hand drawn logos feels more true to the hand drawn look.
Bonus: Mockups
Of course, as we explain in the logo design process for graphic designers, mockups are a crucial component to showing how your branding will look in the real world. Don’t just tell your clients, show your clients!

Hand drawn branding and hand drawn graphic design isn’t going away. In fact, in our post pandemic, work-from-home, Zoom meeting world, the desire for hand drawn branding is likely to continue to explode!
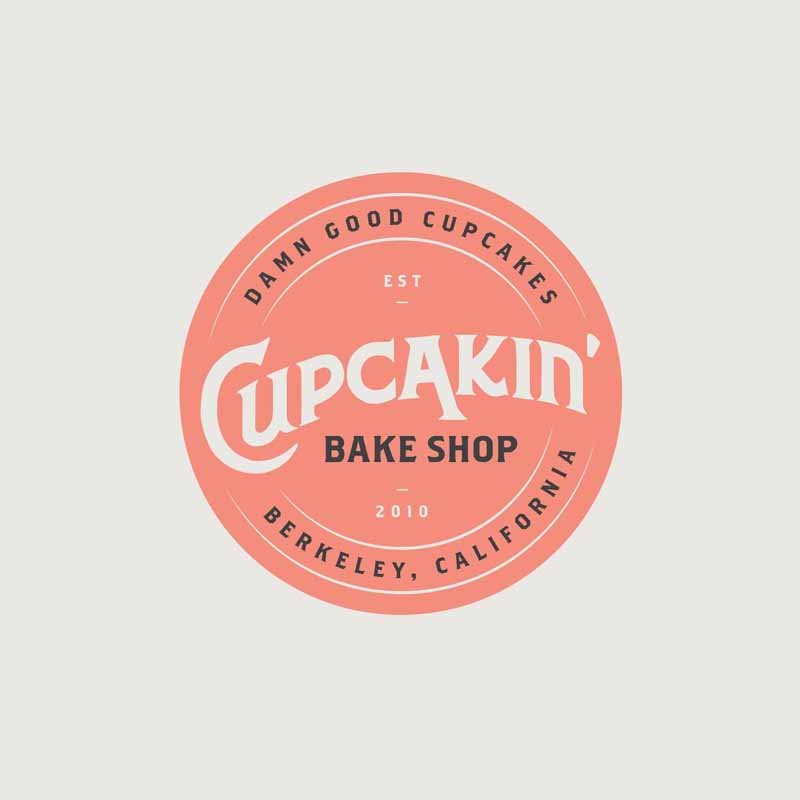
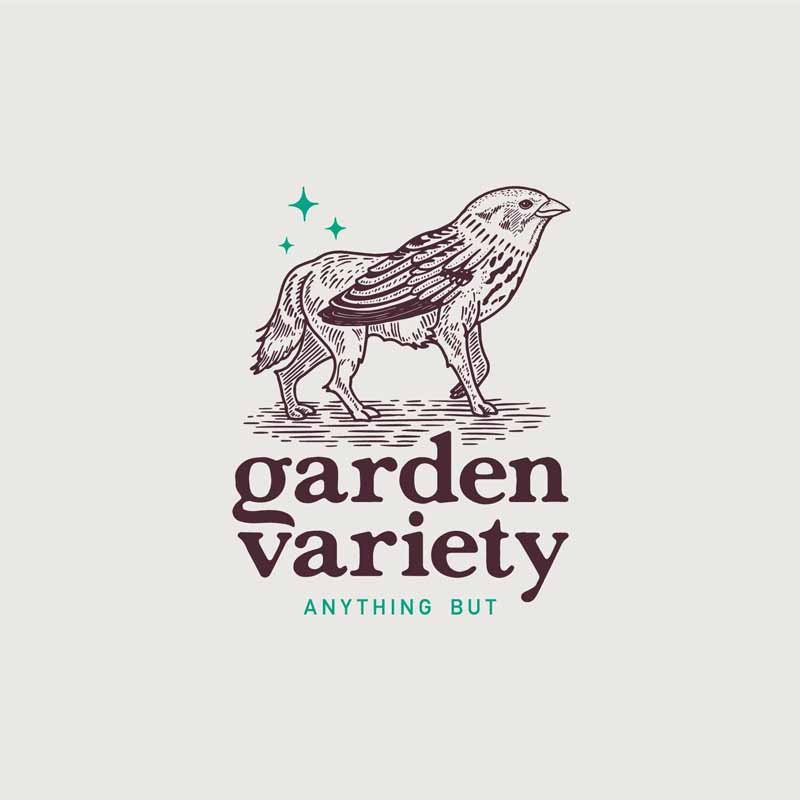
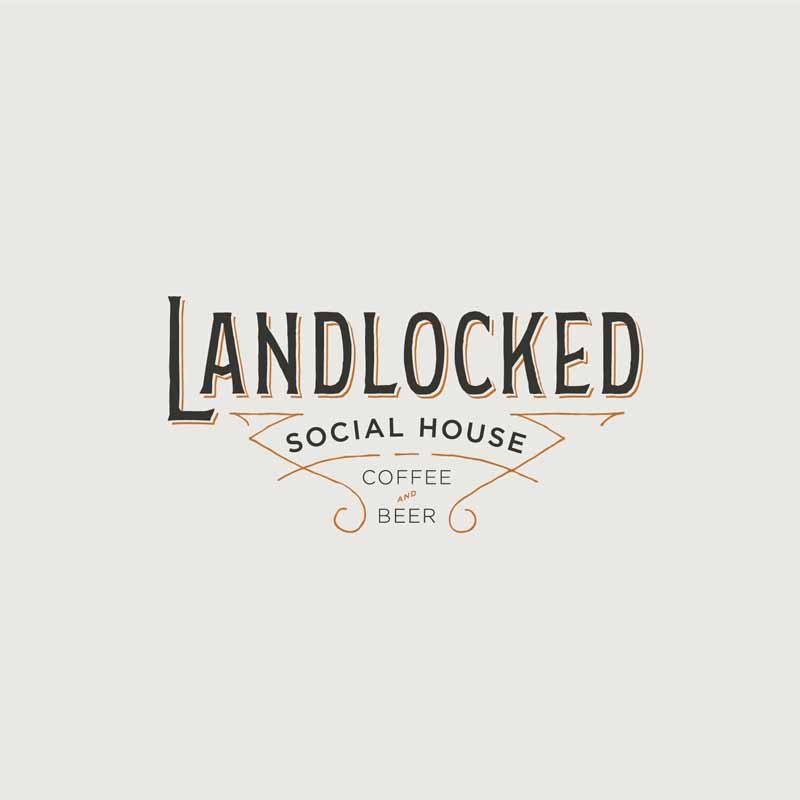
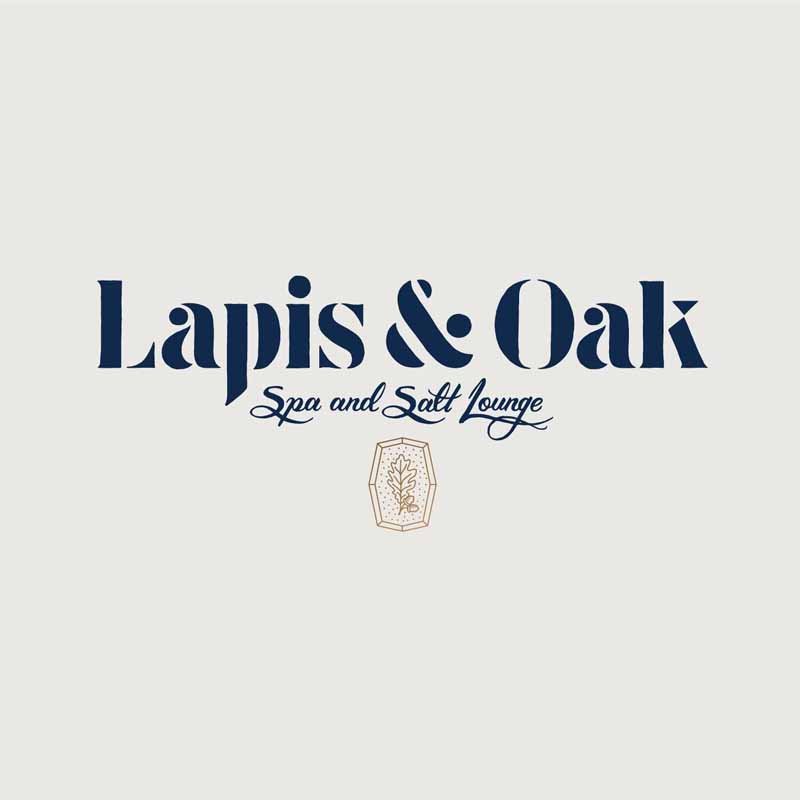
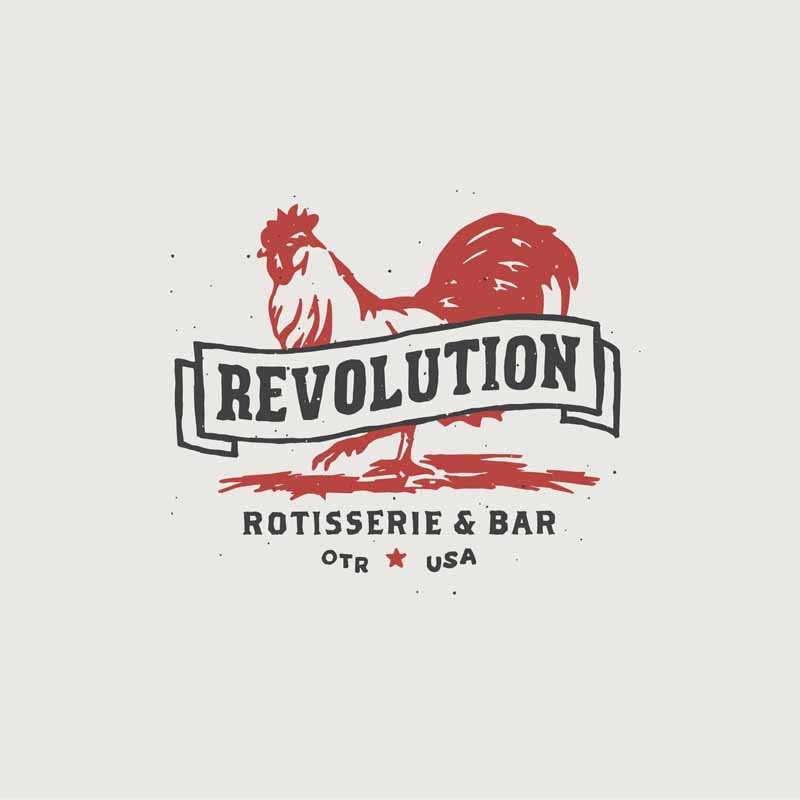
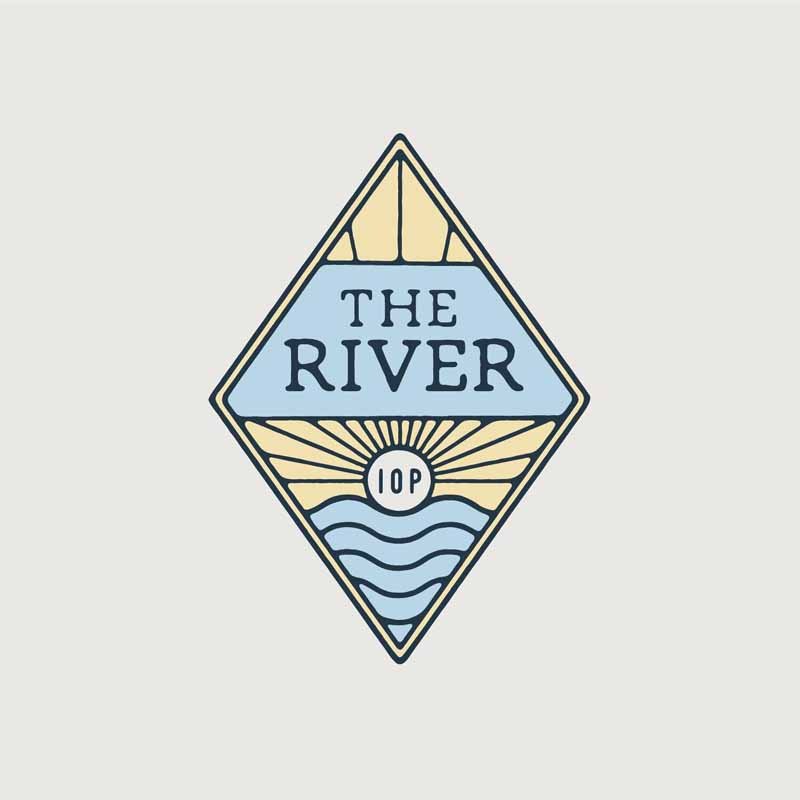
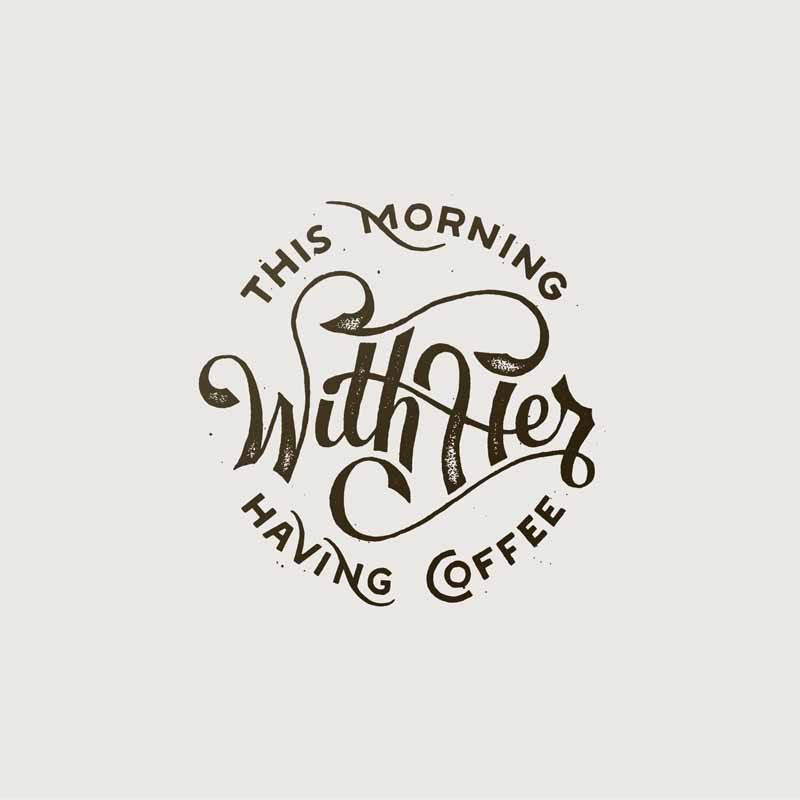
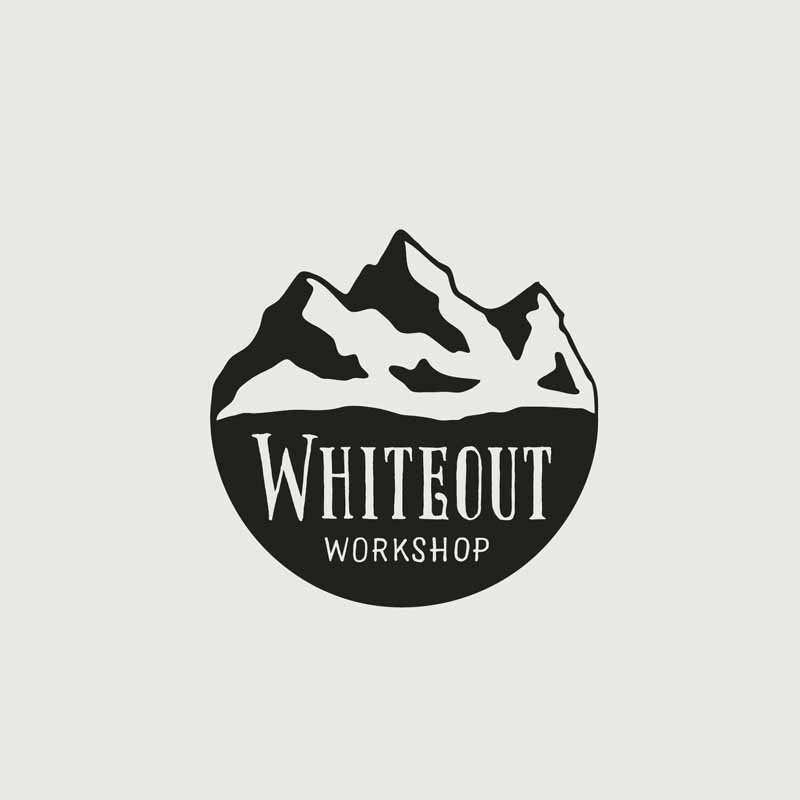
If you don’t know how to draw logos by hand, this is the perfect place to start. Below is some hand drawn logo inspiration by Vicarel Studios to get you started.
Vicarel Studios’ hand drawn branding examples: